Making a DE blade holder for your GEM 1912 razor
Have you ever wished you could use your favorite DE blade in a SE razor?
Here is what I've come up with:
MATERIALS: 2 SE blades, epoxy and a little patience.
STEP 1: Carefully remove the spines from both blades. Do this by gently, by prying the spines away from the blades with a small screwdriver or knife. Try not to bend the blades or damage the spines. Pry them away only enough to get the blades out.
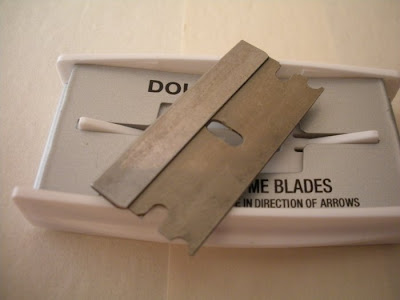
STEP 2: Carefully place the blades together face to face. This should be a tight fit without space between the faces of the blades. Flip the blades arround and try to get them to match perfectly. If the blades are bowed or bent start over.
STEP 3: Apply a THIN coat of epoxy from the sharp edge right up to (NOT BEYOND) the notch on the inside face of one of the blades. Lay a piece of paper on the area beyond the epoxy and stick the blades together face to face. The paper will keep the epoxy from moving toward the back of the blade.
Step 4: Keeping both blades together (and all edges even) slide the SHARP EDGE side into one of the spines. Make sure it goes all the way in and keep all edges lined up. Crimp it tight with pliers and remove the paper blotter from between the blades as the epoxy sets.
When the epoxy has set you're ready to go. Snap your favorite DE blade in half (ALWAYS leave the blade in the wrapper when snapping, to avoid embarrassing wounds to fingers and possible splinters in the eyes) and carefully slide it into your new holder. The epoxy acts as a stop. Put the whole thing into a GEM 1912 style razor and start shaving.
This won't work with early 1914s or the Micromatics, but if you snap the little tabs off the ends of your half DE blade it works incredibly well in the 1924 "Shovelhead."
What can I say... I really love my GEMS.


Just want to say that the guy who invented this, we'll call him Tony, deserves some kind of award for this brilliant way to make a great razor even more functional and cheaper than any would think possible!
ReplyDelete